In providing examples of how to create custom code for your site, I often use the service GitHub Gist to host the code. It turns out this is actually pretty convenient for sharing code because you can easily download it and use it on your site.
Here is how that is done:
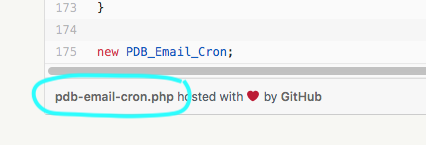
- go to the gist page for the hosted code (there will be a link at the bottom of the code window)
- on the upper right of the page, click on “Download Zip”
- the code file will download as a zip file
- to install, in your WP admin, go to Plugins/Add New
- at the top of that page, click on “Upload Plugin”
- select the zip file you downloaded from Gist
- that will install the plugin
- if you are ready to go (that is, you don’t need to edit the code I provided), click on “Activate”
- test the new plugin’s functionality
Editing the Plugin
The plugin code gists I provide are typically examples and you will need to alter the code to get it to do what you want in your situation. To do this, you can use the built-in plugin editor. (experienced coders won’t do this, they will use their normal code production workflow)
The recommended first step to doing this is making sure you are set up to “force-deactivate” your edited plugin. This is because if you save a syntax error, it will possibly crash your site and you may not be able to get in to the regular admin to fix it. This gives you a way to recover from such a disaster.
How to Force-Deactivate a Plugin
Set up your FTP (or use your hosting control panel File Manager) to open your site to the “plugins” directory. You will see a list of all your installed plugins. (If you can’t do this, you probably should not be editing plugins! The risk of a crashed site that you won’t be able to recover from is too great.)
To force deactivate a plugin, you need to change the name of the plugin file or folder. If you edit a plugin and it crashes your site, you will need to find that plugin here, then change it’s name. I usually add a zero to the end of the name, then save the changed name.
Once you do that, the faulty plugin can’t load and your site will work again. It will be automatically deactivated. Change the name back to where it was and go back to editing the plugin, being even more careful this time to avoid mistakes!
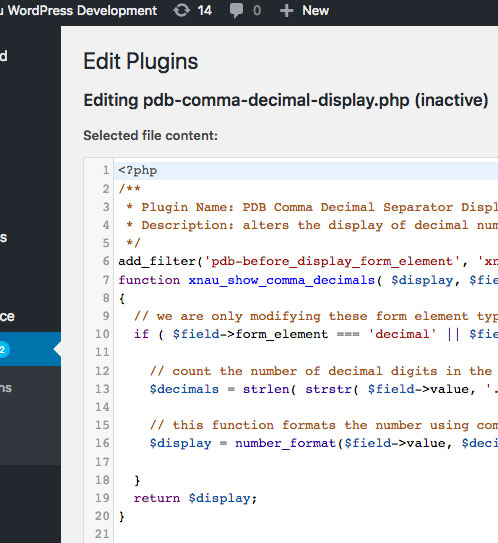
Editing the Plugin
Editing your plugin is easy, just open the Plugins/Editor page and select the plugin you want to edit in the upper right. Click on “Select” and it will load the plugin code. Typically, with my plugin examples, it will be a single file. The editor can also deal with plugins that have multiple files.
Find the code you need to edit in the editor, make your changes, then check your work. If you are unfamiliar with php syntax, be extra careful, and probably you should learn a little about it before proceeding. Once you’re happy with the edit, save the changes using the “save” button.
Now, activate the plugin and check your plugin functionality to see if you got what you wanted.